Finding and choosing a castable refractory concrete appropriate for use in heater construction can be difficult. Requirements are: high density, large aggregate and high tolerance to thermal shock. The castable used here is Mount Savages Heatcrete 24 ESC (24 f. extra strength course.)
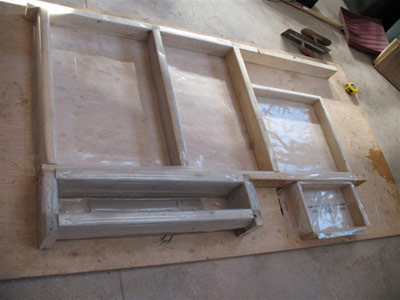
The below article shows the forming, pouring, and deforming, of the 4 castable refractory concrete modules used in the construction of the indirect upper chamber bake oven.
The article outlines techniques appropriate for custom work in the field. Workshop practices and equipment are surely superior.
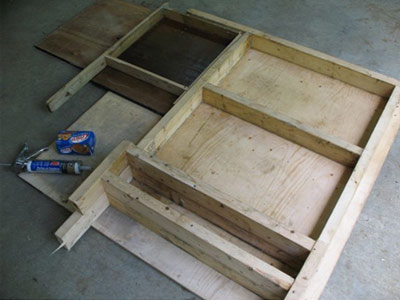
The hearth mould is darker as it is made from plywood used especially for form work.
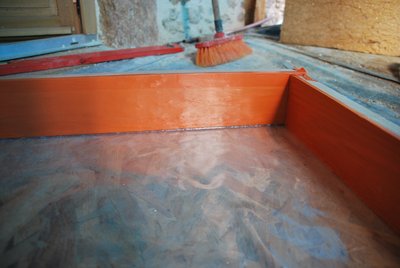
Once the moulds have been screwed in place they need to be sealed in order to stop the evaporation of water during the reaction, and to allow the slabs to be deformed with ease once cured. The moulds can be lined in polythene, or sealed with vegetable shortening and silicone. Both techniques are valid, though only the method using vegetable shortening is illustrated here. Polythene gives the finished modules a shiny mirror like finish on the cold sides which is easily cleanable. The lustre of this finish though may significantly impede the evacuation of mechanical water during heat up. The dull surface of the modules from moulds lined with grease is considerably more porous.
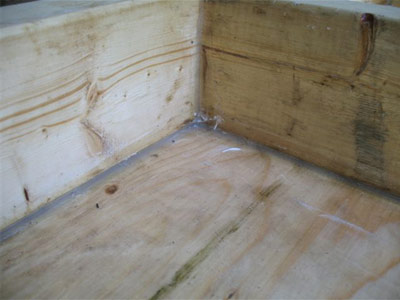
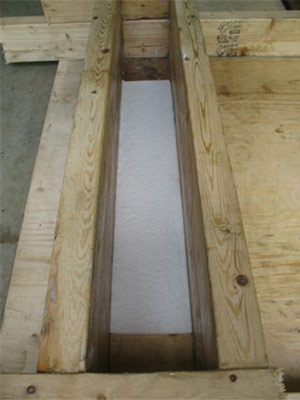
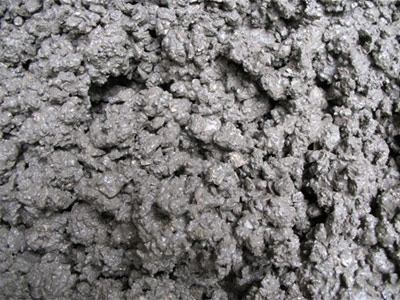
The manufacturers recommended quantity of water must be adhered to. With Heatcrete 24 the one and three quarter gallon measure of water per 100 lbs of dry material, seems to be too dry. Though after thorough mixing it vibrates into place perfectly.
Even a slight excess of water can considerably weaken the finished modules.
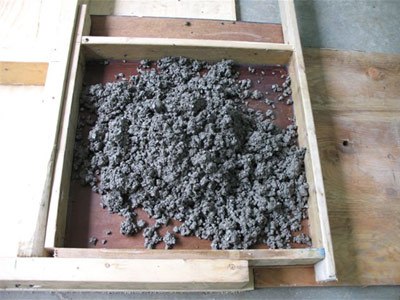
Both water and dry material need to be relatively warm during mixing, and kept warm after the pour, before and during the reaction. A temperature between 15 and 20 C is ideal. If pouring in cold temperature which necessitates warming of material, and water, care must be taken not to over warm them as this will speed up the reaction causing the mix to jam before being vibrated into place.
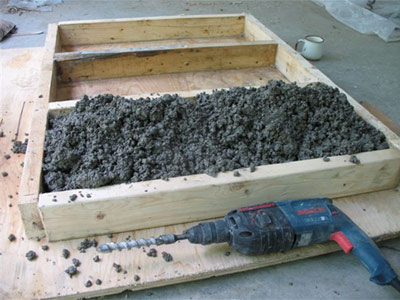
The concrete is placed in the mould. It is better to over fill the mould and scrape off excess than to under fill and add.
The concrete should then be pushed into place with a trowel, before being vibrated. The below image shows the concrete after vibrating for one minute. Though, up until this point, the concrete has seemed way too dry, it should run in to the forms perfectly once vibrated.
 Castable refractory concrete #1 (Video, 11 secs)
 Castable refractory concrete #2 (Video, 12 secs)
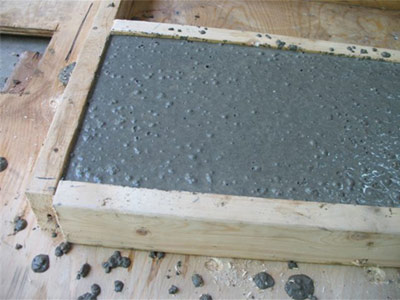
Vibrating is done with a rotary hammer or hammer drill.
Placing the drill bit on a scrap piece of wood the form is vibrated around its periphery causing the concrete to settle in to place and then for trapped air bubbles to be driven up to the surface.
The way these three moulds are arranged means that the middle piece and the two inner portions of the outer pieces cannot be easily vibrated. Special attention should be given to placing and vibrating these areas.
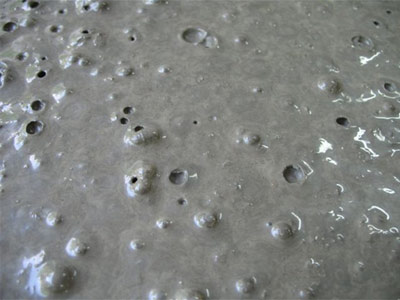
The top surfaces of the modules, which are the hot surfaces, should be left rough and not finished by trowel. After pouring the forms should all be tightly covered with plastic, and all air expelled by running a hand over the plastic as it rests on the wet concrete. It is advisable to staple these plastic covers in place to avoid the corners being lifted by sly overnight winds.
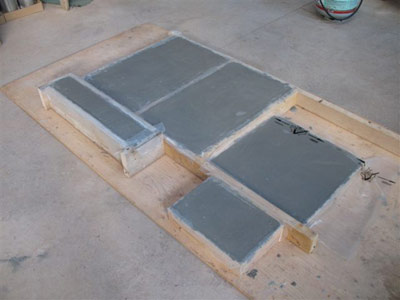
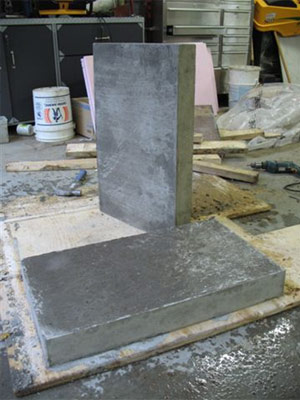
The hydraulic reaction, driven by the exothermic setting of the concrete, will start several hours after pouring, depending on quantity of water and temperature of materials.
The reaction should cause the material to become quite hot as it continues for several hours. It is important that at this point that the work remains tightly covered, stopping water from being lost through evaporation during the reaction. Though I deform and use the modules the day after pouring, once they have cooled down, they could ideally be left in their forms for an additional two days. If deformed the day after it is better to keep the modules humid for a couple of days.
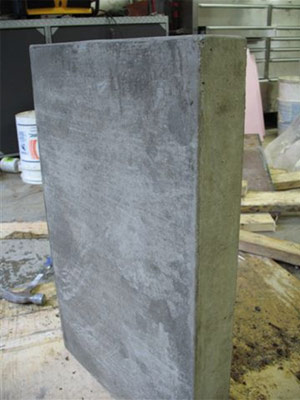
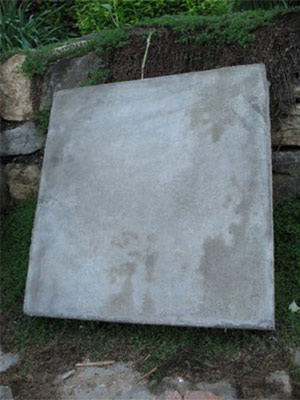
It is probably preferable to cast this piece on to polythene as it will provide a smoother shinier surface that is less permeable and easier to clean.
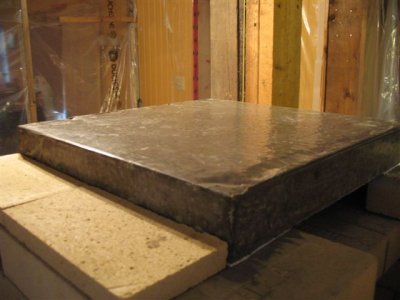
Heat Up: Up to 50 % of the water addes during mixing may remain after the reaction has finnished. Therefore extreme care should be taken to bring the refractory core up to operating temperature slowly. This will allow mechanical water trapped in the modules to escape gradually through the materials natural porosity. Contact with flame should be avoided during the first fires, as much as possible. Though in this application it is almost impossible. Bringing the heater up to temperature too fast will cause this residual water to have a mechanical action on the material as it vaporises and expands.
Quick And Easy Mould Lining.
Update 2011
Using grease is messy. Lining the molds with strips of polythene is time consuming and difficult, especially at the corners. Even when held in position with silicone, during vibration, the edges of the polythene strips tend to rise into the concrete. This results in polythene being trapped in the hardened concrete, which can cause the corners of the finished module to brake away. And potentially melt and smell which is problematic if the modules are oven components.
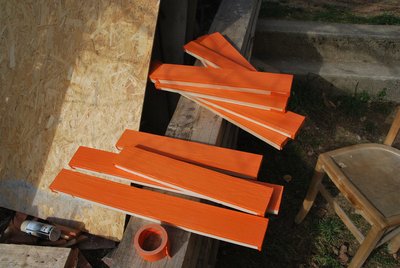
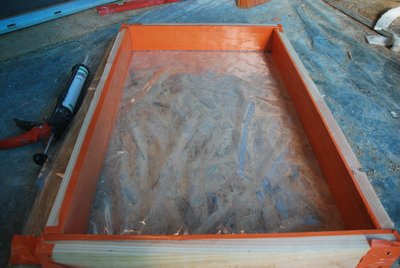
The following three images illustrate what may be the fastest, easiest and best method of lining moulds in the field.
Note: The reaction between uncured silicone and liquid castable will cause the surface of the castable at the interface to be powdery when cured. Though only superficial and not an actual problem this looks unsightly, and so smearing excessive amounts of silicone on to the inner surfaces of the mould should be avoided.


 Wechat Us